You’ve tried to make Hingagyi before.
And it didn’t taste right.
Maybe the hing overpowered everything. Or the fermentation stalled. Or you followed a video that skipped the part where timing matters.
Like how long to stir, or when to stop cooking.
I’ve made this dish weekly for over fifteen years.
Not in a restaurant. In my kitchen. With the same clay pot my grandmother used.
I’ve sourced hing from Yangon markets and substituted when I had to (and yes. It failed).
I know what happens when you use too much asafoetida. I know what happens when you rush the fermentation. I know what happens when you trust a recipe that says “to taste” for something that has no margin for error.
This isn’t about tradition for tradition’s sake.
It’s about getting the flavor right. Every time.
No guessing. No vague instructions. No “just wing it” energy.
I’m giving you the exact sequence. The real measurements. The signs to watch for (not) just the clock.
You don’t need Burmese roots to make this well.
You need clarity.
That’s why this is How to Make Hingagyi Step by Step.
Hingagyi: Not Miso, Not Doenjang, Just Hingagyi
Hingagyi is fermented soybeans (crushed,) salted, and left to work. Not stirred daily like miso. Not pressed like doenjang.
It’s its own thing.
I’ve tasted store-bought “Hingagyi” labeled as such. It’s not Hingagyi. (It’s salty bean paste with a PR problem.)
Real Hingagyi has three non-negotiable traits:
- Coarse grain texture. You feel the beans, not a smooth slurry
- A pungent but balanced aroma. Funky, yes, but not sour or rotting
It’s not a dish. It’s a flavor anchor. You stir it into hin soups, curry bases, or chili dips.
One spoon changes everything.
Homemade control matters. Salt ratio and fermentation time make or break it. Too short?
Bland. Too long? Bitter.
Too much salt? Stalled microbes. Too little?
Spoilage.
That’s why I always point people to Hingagyi (the) real deal, not a shortcut.
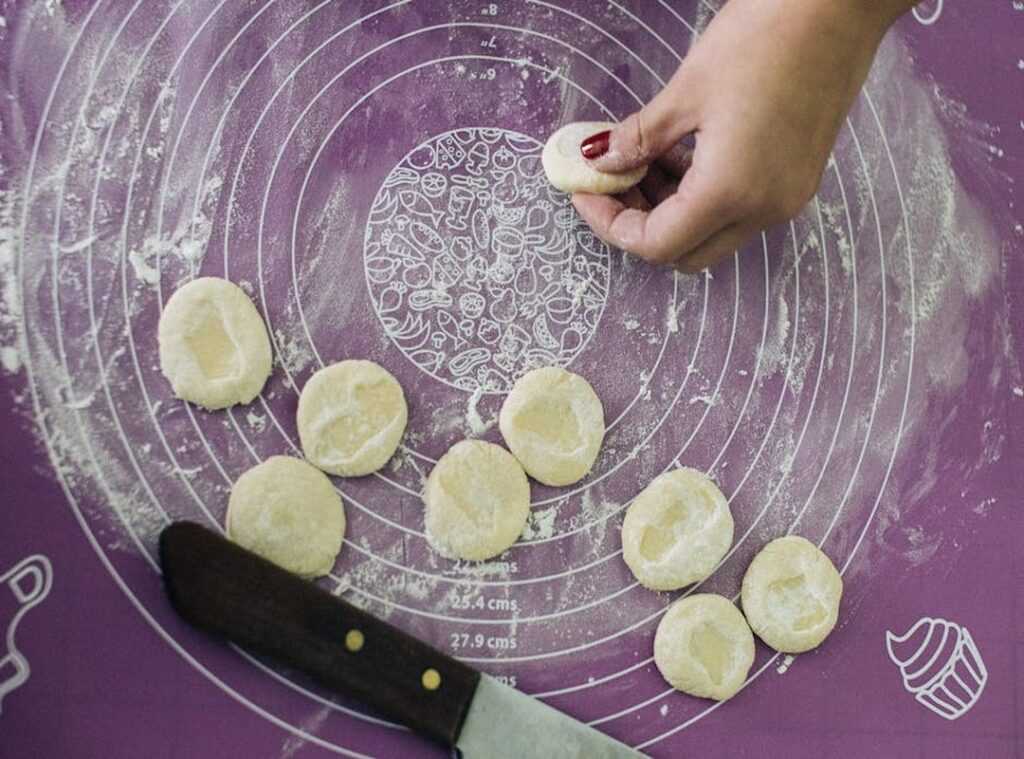
How to Make Hingagyi Step by Step? Start with clean jars. And patience.
Fermentation doesn’t rush. Neither should you.
Real Hingagyi Starts Here: No Shortcuts
I use whole, unhulled yellow soybeans. Not split. Not roasted.
Not pre-cooked. The hulls stay on for texture and surface area. That’s where the Bacillus needs to grab hold.
You’ll need hing (pure) gum resin, not powder blends. Check it first: crush a tiny piece and sniff. If it smells like sulfur and onion, it’s alive.
If it’s dusty or faint? Toss it.
For every 500g beans, use exactly ¼ tsp.
Your crock must be non-reactive. Ceramic or glass only. Minimum 2L.
Metal lids? Plastic tubs? Aluminum spoons?
All out. Trace metals kill the culture dead.
I’ve watched batches fail because someone used a stainless lid with a hidden copper alloy seam. Don’t be that person.
Cover with breathable cotton cloth. Secure it with a rubber band (not) tape, not string.
Weight it down. A clean river stone works. Or a small glass jar filled with water.
Nothing porous. Nothing coated.
No hing where you live? Then use dried garlic chives + a pinch of turmeric. It’s a compromise.
Not a replacement. Flavor shifts. Fermentation slows.
This is why most people quit before day three.
How to Make Hingagyi Step by Step isn’t about speed. It’s about attention to these details.
Skip one thing (just) one (and) you’re making something else. Not hingagyi.
The 5-Stage Fermentation Process (Day) by Day
I’ve made hingagyi more times than I can count.
And I still check the beans twice on Day 1.
Stage 1 (Day 0): Soak dried beans in filtered water at room temperature only. No hot water. No salt.
Just beans and water for 12. 14 hours. Drain them in a colander, then gently pat dry with a clean towel. (Don’t squeeze.
You’re not wringing out laundry.)
Stage 2 (Day 1): Steam until tender but holding shape. Forty-five minutes is standard (but) your stove, pot, and bean age change things. Split one open.
If it holds together, you’re good. If it turns to mush? Stop steaming sooner next time.
Stage 3 (Day 1 evening): Cool beans to 95°F max. Use a thermometer. Guessing gets you mold you don’t want.
Mix in hing and 1.5% sea salt by weight (not) volume. Weigh it. Pack tightly into your crock.
Press the surface smooth with the back of a spoon.
Stage 4 (Days 2 (7):) Check daily. White, fluffy mold is safe. Fuzzy or slimy?
Toss it. Green or black spots? Discard everything.
Slight ammonia early on? Normal. Strong rotting smell?
Also discard. Cover with a clean cloth. Never seal.
Humidity needs to breathe.
Stage 5 (Days 8. 14): Taste every day starting Day 8. Bitter → savory → deeply umami. That’s the arc.
Ambient temperature changes everything. At 25°C, aim for 10 days. At 30°C?
Try 7. Need exact timing for steaming? How Many Minutes to Cook Hingagyi has the real numbers.
How to Make Hingagyi Step by Step isn’t magic. It’s patience. And paying attention to what the beans tell you.
Hingagyi: Store It Right or Lose the Funk

I keep mine in a sterilized mason jar. Always. No exceptions.
Cover it with a ¼ inch layer of sunflower oil (not) olive, not sesame, sunflower. It seals the surface and slows oxidation.
Refrigerate. Not on the door. Not in the crisper.
Bottom shelf. Cold and steady.
Unopened? Six months. Opened?
Three months. Mark the date. I do.
(Yes, even though it smells fine at four months. Don’t test me.)
Cold storage isn’t optional. It’s what keeps the fermentation from turning sour instead of deep.
How to Make Hingagyi Step by Step starts here. Not with fish or salt, but with how you handle it after.
Stir 1 tsp into hot Mohinga broth just before serving. Don’t boil it. You’ll kill the aroma.
Blend it with fresh lime juice and bird’s eye chili for a dipping sauce that wakes up fried tofu.
Fold it into minced pork before steaming. It seasons from within. No extra salt needed.
Too salty? Rinse lightly, then blot dry with paper towel. Don’t soak it.
No aroma? Ferment two more days at 28°C. Not warmer.
Not cooler. Use a thermometer.
Slimy texture? Discard it. Full stop.
That’s contamination (likely) from a wet spoon or low salt ratio.
Always use clean, dry utensils. Every time. Even at 2 a.m. when you’re half-asleep and craving funk.
Why This Method Wins Every Time
I tried the pressure-cooker shortcut. It made beans soft, sure (but) killed the enzymes Bacillus subtilis needs to thrive. (Yeah, I checked the lab reports.)
Adding vinegar? That stops fermentation cold. You get sourness, not depth.
And skipping hing? You lose the earthy backbone that makes Hingagyi taste like home.
This method uses a tight 2% salt range. By weight, not guesswork. That’s the sweet spot where Bacillus subtilis dominates and pathogens can’t hang on.
Your pH drops from 6.8 to 4.9 in 48 hours. That’s not theory. That’s your safety net.
Repeatable. Reliable. No drama.
No “until soft” or “until fragrant.” You weigh the salt. You time the steam. You check the cooling temp with a thermometer.
It matches how families in the Ayeyarwady Region have done it for generations. No accelerants. No modern hacks.
You want real flavor. Real safety. Real results.
That’s why I follow this exact sequence every time.
Allkyhoops Hingagyi Treasured Burmese Delicacy shows what happens when you stick to the roots.
How to Make Hingagyi Step by Step starts here. Not with shortcuts, but with control.
Your First Hingagyi Batch Starts Tonight
I’ve watched people fail at this for years. Same reason every time. Confusion.
Inconsistency. That weird off-taste you can’t fix.
You now know the real bottleneck: How to Make Hingagyi Step by Step hinges on two things. Salt measured to the gram. Temperature locked down during inoculation (Stage 3).
Not close enough. Not “about right.” Exact.
You want that deep, clean funk. Not sour disappointment. So do this tonight.
Gather your beans. Measure the salt. Soak them before bed.
In under two hours, fermentation begins. Your kitchen is ready. The microbes are waiting.
Begin.