
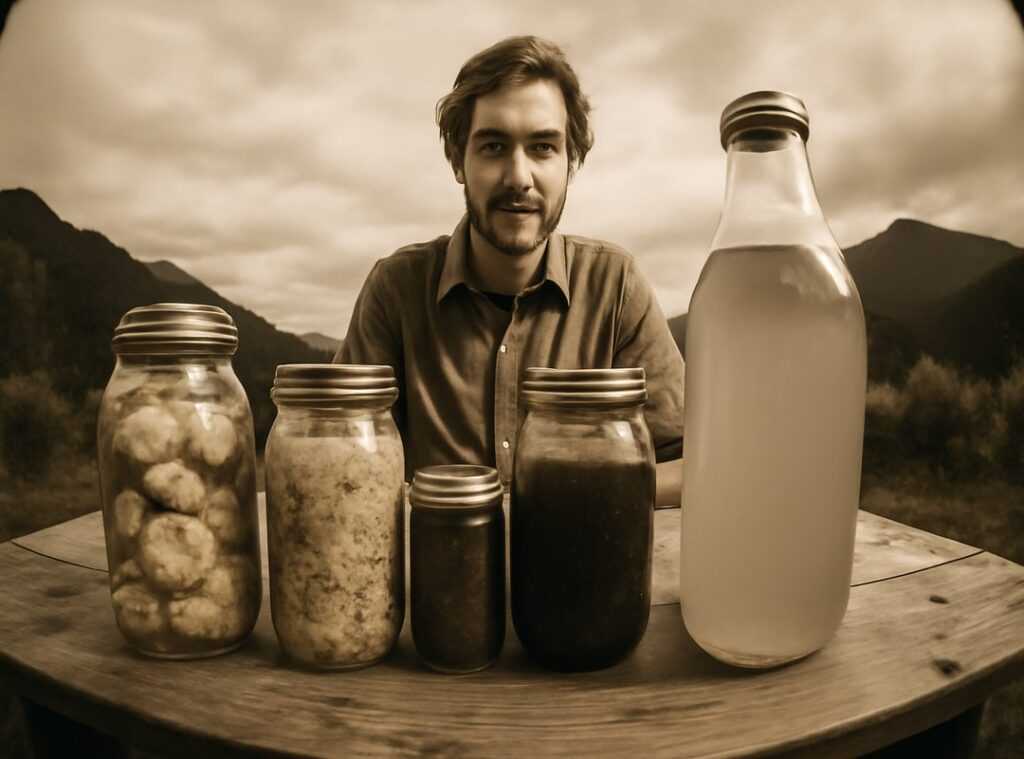
Ever watched cabbage and salt transform into something tangy and alive? It’s like a magic trick right in your kitchen. Yet, many shy away from fermentation DIY experiments because they seem complicated.
Are you one of them? Fear not. This guide simplifies the mystery of fermentation, focusing on the incredible flavors and textures you can achieve without fear of failure.
I’ve spent years exploring global flavors and experimenting in my kitchen. I’ve tasted the triumphs and the failures. You can trust this guide because it comes from countless kitchen trials and a genuine passion for culinary experimentation.
Ready to dive into a world of taste? By the end, you’ll be armed with confidence and ready to start your first ferment. Let’s open up those flavors together.
Why Ferment? Flavor Unleashed
Forget the health buzz. Fermentation is about flavor. Plain and simple.
Chefs know this secret well. When you let those tiny microbes feast on sugars, they morph into complex flavor builders. Think of them as tiny flavor factories.
They’re not just creating acids and gases; they’re crafting taste.
Ever tried sauerkraut? It’s crunchy and tangy, with a sharpness that cuts through rich foods. Kombucha’s got a crisp, refreshing quality that makes it addictive.
Fermentation whips up a depth of umami that’s hard to resist. There’s bright sourness, a subtle effervescence that tingles your tongue, and those funky notes that turn any dish into a masterpiece. It’s like a flavor symphony in every bite.
And kimchi? It’s a spicy, garlicky punch that lingers just right. Don’t get me started on these edible insects new flavors frontier.
Truly a culinary adventure.
This isn’t just some science experiment you did in school. It’s art. It’s a connection to your food and the process that makes it.
So grab your jars, start on fermentation DIY experiments, and let those microbes transform your kitchen. Who knew they were the real artists all along?
Project 1: Classic Sauerkraut – Your Gateway to Tang
Forget about “sour cabbage.” Sauerkraut is a crisp, tangy delight that transforms any meal. You don’t need fancy gadgets. Just cabbage, salt, a jar, and a weight (simple, right?).
to it. Grab your cabbage. Feel that crunch as you slice it thin.
Sprinkle salt and start massaging. It’s more than just a workout for your hands. You’re coaxing the cabbage to release its brine.
That salty liquid is gold for fermentation.
Now, pack it tightly into a jar. Weight it down. Leave it alone for a few days.
You’ll notice bubbling (like a tiny science experiment). The aroma? Clean, sour, and a little tangy.
It’s alive, and it’s marvelous.
Ever thought about adding flavors? Try caraway seeds. They’re classic.
Or throw in juniper berries for a woodsy note. Feeling adventurous? Grate an apple in there.
It adds sweetness (unexpected but delightful).
Fermentation DIY experiments are all about trying new things. Why stop at sauerkraut? Check out diy or die (of boredom): wild for more adventurous ideas.
But start here. Feel the crunch, smell the tang, and see the bubbles. It’s a sensory experience you shouldn’t miss.
Pro tip: Taste it every few days. Your perfect tang might not be mine. That’s the beauty of it.
You’re the artist here. And sauerkraut? It’s your canvas.
Embrace the process, and let your taste buds guide you.
Brew Your Own Bubbly Kombucha: A Zesty Elixir Adventure
Kombucha is like the wild child of the beverage world. It’s fizzy, fun, and full of endless flavor possibilities. If you’re into fermentation DIY experiments, this project is for you.
Let’s talk SCOBY. Sounds weird, right? It’s just the ‘starter’ you need.
Think of it as the magic that transforms sweet tea into kombucha. The process is straightforward, really. First, you have the first fermentation (F1).
Sweet tea meets SCOBY, and they dance together to create a base tea. Simple enough.
Now, the real fun starts with the second fermentation (F2). This is where you get creative. Want to throw in some raspberry and mint?
Go for it. How about ginger and lemon? Yes, please.
Blueberry and basil? Totally. It’s like mixing potions, but for drinks.
The combos are endless, and the results are mouthwateringly good.
There’s something satisfying about the ‘pop’ when you open a perfectly carbonated bottle. It’s the sound of success. And those bubbles?
They dance on your tongue, making each sip an experience. If you’re curious about other culinary techniques, you might want to learn more.
Pro tip: Be patient with your brew. Good things come to those who wait, especially in the world of kombucha. It’s all about experimenting and finding what tickles your taste buds.
So, are you ready to dive into this fizzy adventure? Your kombucha journey awaits.
Simple Kimchi: A Taste of Korean Funk
Have you ever wondered if making kimchi is more science than art? It’s not. You don’t need a culinary degree or a deep dive into Korean cooking shows to create your own batch.
Let’s keep it simple.
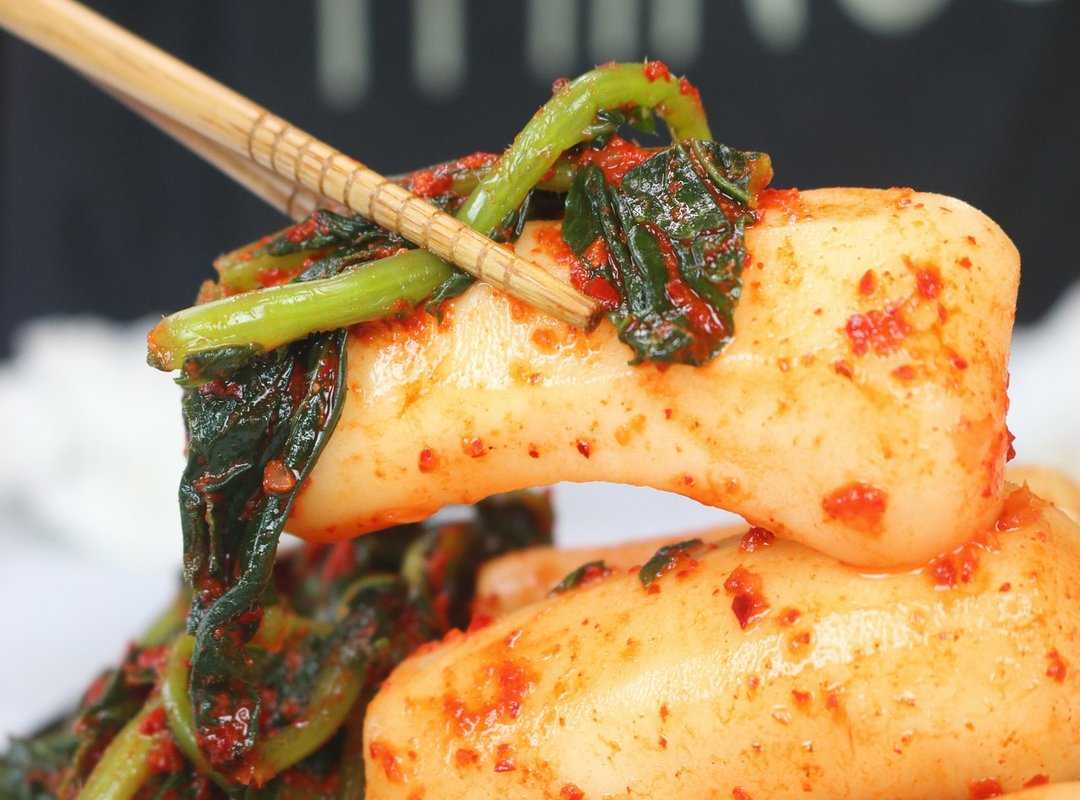
First off, the essentials. You’ll need napa cabbage, a handful of gochugaru (those magical Korean chili flakes), and some fish sauce (or miso if you’re going vegan). The savory depth comes from these ingredients, a key to kimchi’s unique flavor.
Add garlic and ginger for that fresh zing. It’s a sensory overload, but in the best way possible.
Time to get your hands messy. Making the paste is easy. Blend your spices, massage them into the cabbage, and watch as the lively red color coats each leaf.
The smell is nothing short of intoxicating. It lingers in your kitchen, hinting at what’s to come.
How long should you let it ferment? Fresh and crunchy is great for those who can’t wait. But let it sit longer, and you’ll open up a more sour, complex flavor.
It’s all about what you crave.
Now, let’s speculate. Will kimchi become the next must-have in your fermentation DIY experiments? I think so.
Toss it in fried rice, layer it on tacos, or melt it into a grilled cheese. The possibilities are endless! Why not bring a little Korean funk to your kitchen?
Fermentation Toolkit: Keep It Simple and Safe
Fermentation DIY experiments don’t need much. A few important tools are all you need. Grab some glass jars, cover them with cloth, and throw in weights (or use a bag of brine in a pinch).
Now, about safety: keep your stuff submerged under the brine. If you see fuzzy, colorful mold, toss it out and start fresh. Trust me, you’ll know when something’s off.
A sour smell? Perfectly normal. But if it smells like a swamp, ditch it.
Remember, the acidity in fermentation is like nature’s own safety net, keeping bad bacteria at bay without fuss.
Dive Into Your Flavor Adventure
You’re ready. You’ve got three exciting projects lined up. Remember that initial intimidation?
Forget it. With these steps, fermentation DIY experiments are simple and rewarding. Focus on the sensory thrill and joy of creation.
It turns fear into fun.
So, what now? Pick the project that tickles your taste buds. Grab a jar.
Begin your homemade fermentation journey today. It’s not just possible; it’s enjoyable. You’re not alone.
Countless others have started and loved the process. Ready to taste success? Go on, feel that thrill.
Make it happen. Start creating. Your flavor story begins now.
 Brian Pinkertoniolusto writes the kind of cooking tips and advice content that people actually send to each other. Not because it's flashy or controversial, but because it's the sort of thing where you read it and immediately think of three people who need to see it. Brian has a talent for identifying the questions that a lot of people have but haven't quite figured out how to articulate yet — and then answering them properly.
They covers a lot of ground: Cooking Tips and Advice, Culinary Buzz, Global Flavors and Fusions, and plenty of adjacent territory that doesn't always get treated with the same seriousness. The consistency across all of it is a certain kind of respect for the reader. Brian doesn't assume people are stupid, and they doesn't assume they know everything either. They writes for someone who is genuinely trying to figure something out — because that's usually who's actually reading. That assumption shapes everything from how they structures an explanation to how much background they includes before getting to the point.
Beyond the practical stuff, there's something in Brian's writing that reflects a real investment in the subject — not performed enthusiasm, but the kind of sustained interest that produces insight over time. They has been paying attention to cooking tips and advice long enough that they notices things a more casual observer would miss. That depth shows up in the work in ways that are hard to fake.
Brian Pinkertoniolusto writes the kind of cooking tips and advice content that people actually send to each other. Not because it's flashy or controversial, but because it's the sort of thing where you read it and immediately think of three people who need to see it. Brian has a talent for identifying the questions that a lot of people have but haven't quite figured out how to articulate yet — and then answering them properly.
They covers a lot of ground: Cooking Tips and Advice, Culinary Buzz, Global Flavors and Fusions, and plenty of adjacent territory that doesn't always get treated with the same seriousness. The consistency across all of it is a certain kind of respect for the reader. Brian doesn't assume people are stupid, and they doesn't assume they know everything either. They writes for someone who is genuinely trying to figure something out — because that's usually who's actually reading. That assumption shapes everything from how they structures an explanation to how much background they includes before getting to the point.
Beyond the practical stuff, there's something in Brian's writing that reflects a real investment in the subject — not performed enthusiasm, but the kind of sustained interest that produces insight over time. They has been paying attention to cooking tips and advice long enough that they notices things a more casual observer would miss. That depth shows up in the work in ways that are hard to fake.